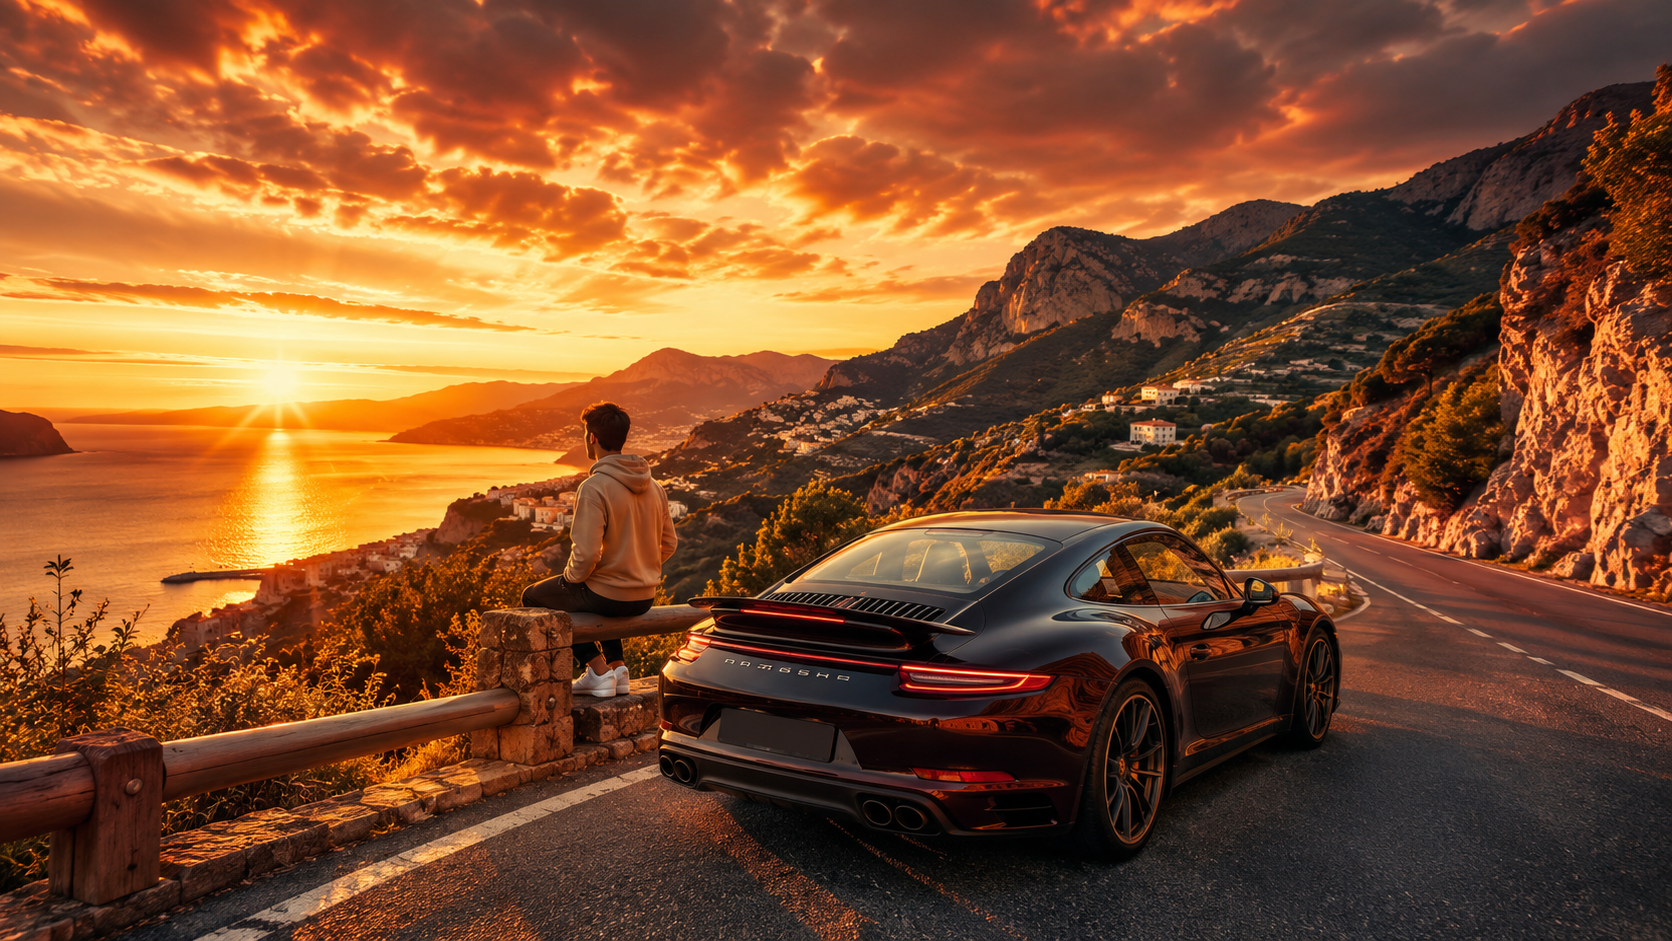
Moody Dark Lightroom Preset DNG 2026 (Free Cinematic Download)
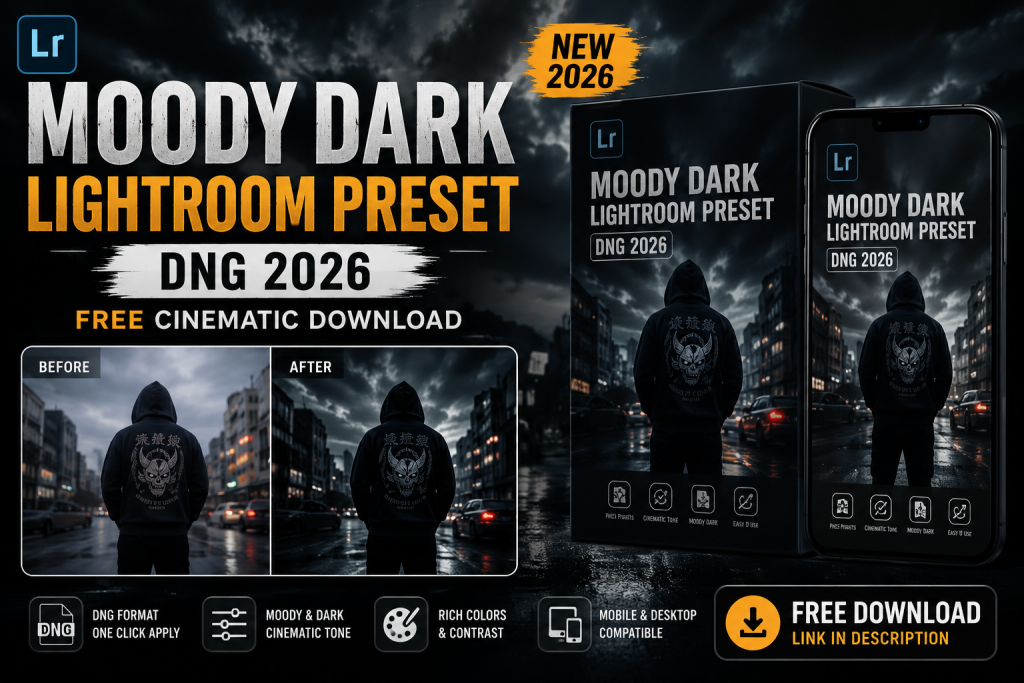
If you want that deep, dramatic, cinematic colour you see on top creator pages, a moody dark Lightroom preset DNG is the fastest way to get it. This preset deepens shadows, mutes harsh colours, and adds a rich filmic tone in one tap inside Lightroom mobile. This guide explains the look, how to install the DNG, and how to apply it to photos and reels in 2026.
What Is a Moody Dark Preset?
A moody dark preset is a colour grade built on deep shadows, lowered highlights, and muted, desaturated tones. It creates a serious, emotional, cinematic feel that suits portraits, street photography, rainy scenes, and attitude content. Unlike bright presets that lift everything, a moody grade pulls the image down into rich blacks and controlled colour, which is what makes it feel premium and film like.
How to Install the DNG Preset
- Install the free Adobe Lightroom app.
- Save the moody dark DNG file to your phone.
- Import the DNG into Lightroom as a photo.
- Open it, tap the three dots, and choose Copy Settings.
- Open your own photo and choose Paste Settings.
For a brighter, warmer alternative, see my warm cinematic Lightroom preset DNG guide, and find more styles in the free Lightroom presets DNG hub.
When to Use a Moody Dark Grade
This grade shines in specific moods. Use it for rainy day photos, low light portraits, street and urban shots, sad or emotional reels, and phonk style attitude content. It pairs beautifully with a phonk CapCut template or a lofi AI photo editing prompt, since all three share a soft, faded, cinematic feel.
Adjusting the Preset for Your Photo
Every photo is shot in different light, so a preset is a starting point. After you paste the settings, check three things. Fix the white balance if the image looks too blue or too orange. Lift the exposure slightly if the shadows crush too much detail. Protect skin tones by easing the orange saturation if faces look muddy. These quick tweaks turn a generic grade into a custom one. The lighting fundamentals behind premium grades are in my cinematic prompt guide.
Use the Grade on AI Photos and Reels
The moody dark preset is not only for raw photos. Apply it to AI generated portraits from my AI photo editing prompts to deepen the mood. For video, grade your key frames and cover photo, or add a matching dark filter in your editor. The preset completes a phonk or lofi reel built with the templates across this site.
Build Your Own Moody Preset
Once you understand the recipe, you can grade by hand and save your own version. Lower the shadows, reduce overall saturation, add a slight cool tint, and lift the blacks just a touch for that faded film feel. Save the result as a preset so your whole feed shares one consistent, recognisable look that viewers begin to associate with your page.
Mistakes to Avoid
Do not crush the shadows so hard that detail disappears completely. Do not leave skin tones looking grey, since a moody grade should still flatter faces. And do not apply the same exposure to every photo, because each image starts at a different brightness and needs a small adjustment.
Moody Grading for Different Content Types
A moody dark grade adapts to many niches when you adjust it slightly. For street photography, lean into deep shadows and a cool tint for an urban edge. For rainy portraits, keep the blacks rich but add a touch of warmth to the skin so the subject still glows. For attitude and phonk reels, push the contrast harder for maximum drama. For emotional storytelling, soften the grade so it feels sad rather than aggressive. The same base preset becomes several distinct looks with small tweaks, which is why building one strong moody preset is so valuable. Save each variation so you can match the grade to the mood in seconds.
Avoiding Muddy Shadows
The biggest risk with a dark grade is losing detail in the shadows until they turn into a flat, muddy black. To prevent this, lift the blacks slightly and add a touch of clarity so texture stays visible. Check your photo on a bright screen and a dim one, because shadows that look fine on a bright phone can disappear on a dimmer display. Keeping just enough detail in the darkest areas is what separates a rich cinematic grade from a crushed, amateur one. For sharp source images that hold detail well, generate portraits with my AI photo editing prompts.
Saving Multiple Moody Variations
Once you have a base moody preset, save two or three variations so you can match the grade to each photo in seconds. Keep a cool urban version for street shots, a slightly warm version that flatters skin for portraits, and a high contrast version for attitude reels. Naming them clearly means you never re grade from scratch. This small library speeds up your workflow and keeps your feed consistent, which is exactly what makes a page look professional and curated over time.
Frequently Asked Questions (FAQ)
What is a moody dark Lightroom preset DNG?
It is a DNG file that stores a dark cinematic colour grade with deep shadows and muted tones, which you copy and paste onto your own photos in Lightroom mobile.
Is the moody preset free?
Yes. Free moody dark DNG presets work in the free Lightroom mobile app.
What photos suit a moody grade?
Rainy scenes, low light portraits, street shots and emotional or attitude content suit a moody dark grade best.
Can I use it on AI generated photos?
Yes. Applying a moody preset to an AI portrait deepens the mood and gives a consistent premium look.
Quick Recap for a Clean Moody Grade
For a rich moody result, fix the white balance, protect skin tones, lift the blacks just enough to keep detail, and adjust exposure per photo. Save your adjusted version as a preset so your whole feed shares one consistent dark cinematic tone. Pair it with a phonk CapCut template or a lofi prompt for a unified mood.
Final Thoughts
A moody dark Lightroom preset DNG gives your photos a rich, cinematic depth in one tap. Install Lightroom, import the DNG, and pair it with the prompts and templates across Editing By Vikas. New grades drop every week, so bookmark the Lightroom presets DNG hub.